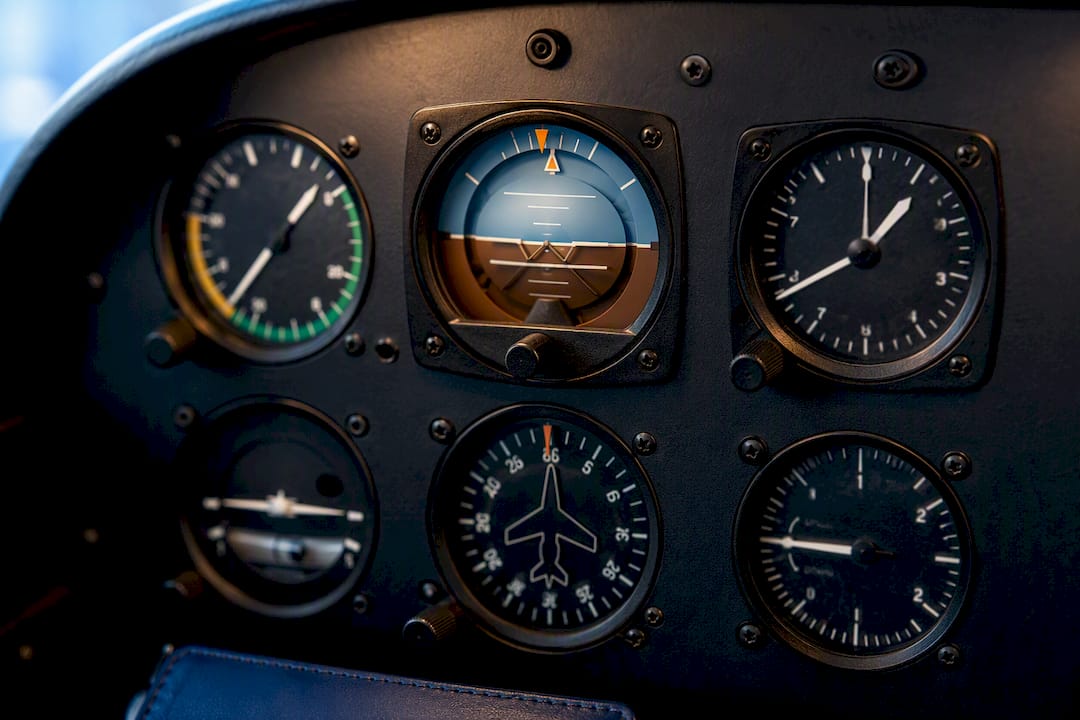
Treat the attitude indicator as your hub and split your attention between two scan patterns: a rhythm-based "music" scan during attitude or power changes, and a circular scan once the airplane is stabilized. Learn the music scan first, then the circular scan, then the inverted-V and T patterns as your workload allows. Follow the FAA's PHAK guidance and a Part 61 instructor to build the habit correctly from day one.
TL;DR:
- The music scan is ideal during attitude or power changes, providing a rhythmic structure that helps prevent fixation on a single instrument.
- Once stabilized, switch to a circular or T scan pattern to reduce mental fatigue and improve panel awareness during longer IFR legs.
- Cross-checking instruments regularly and using the Triangle of Knowledge helps identify failures and prevent fixation, omission, or overemphasis.
- In glass cockpits, trend vectors and digital displays supplement traditional scanning but do not replace core cross-check discipline.
- Stress, fatigue, and turbulence can impair scan efficiency, so building automatic habits in calm conditions is essential for safe and effective instrument flying.
Every instrument scan revolves around the attitude indicator. It sits in the center of the "T" panel layout for a reason: it's the one instrument that shows pitch and bank directly, without the lag or interpretation required by the others. Aviation Online Publishing Association calls this the hub, with every other gauge acting as a spoke you glance at, confirm, and return from.
The music scan, sometimes called the linear scan, uses a rhythmic count ("and one, and two") to pace your eyes between the attitude indicator and whichever secondary instrument matters for the maneuver you're flying. It works best during attitude or power changes, when things are actively moving and you need a steady beat to avoid missing a developing trend, according to AOPA's breakdown of the technique.
Once the airplane settles into stabilized flight, switch to a circular scan. Instead of bouncing back to the hub after every glance, your eyes move around the panel in a loop, hitting airspeed, altitude, heading, and vertical speed in sequence before returning to the attitude indicator. It's less mentally taxing than the music scan because you're not fighting a beat, and it reduces the fatigue that builds over a long IFR leg.
Two other patterns round out the toolkit:
The hub-and-spoke principle holds across all of them. Instructors generally teach that during any single maneuver segment, you should be validating against the attitude indicator for roughly 80 to 90% of your scan time, using the spokes to confirm what the hub is already telling you rather than replacing it.
Three errors show up in nearly every student's early logbook, and CFI Notebook's rundown of common scan mistakes names all three plainly: fixation, omission, and emphasis.
Fixation happens when you lock onto one instrument, usually the one giving you trouble, and stop scanning entirely. A student chasing a wandering heading indicator will often stare at it while the altimeter unwinds behind their back. Omission is the opposite failure: an instrument simply drops out of the rotation because it's not currently causing a problem, until it suddenly is. Emphasis sits in between: you're technically still scanning, but you're spending so much time on one gauge that the others get a fraction of a glance.
Here's how to correct each one during training:
Rebuilding good habits takes repetition, not more theory. Try music-scan drills at a metronome beat, timed three-second glances at each spoke, and short partial-panel recoveries under a safety pilot's watch.
Pro Tip: Practice your music scan on the ground first, tapping the beat on your knee while "flying" a picture of the panel in your head. It sounds basic, but it builds the rhythm before you're paying for airplane time to learn it.
Primary flight displays didn't rewrite the rules of scanning. They changed the "how" while leaving the "why" untouched, since FAA's PHAK Chapter 8 makes clear that cross-check discipline still governs everything. What's different is the information layered onto the attitude display itself.
Trend vectors are the biggest shift. A small magenta line projecting off the airspeed or altitude tape shows where that value will be in six or ten seconds if current inputs hold. Read it as a short-term prediction, not a command, and fold it into your existing scan rather than staring at it.
The hub-and-spoke model still applies. The attitude indicator, now digital, remains the center of the display and the center of your attention:
The Role of Avionics in Training for Pilots covers this transition in more depth if you're training in a technically advanced aircraft.
Trusting the panel starts before you push the throttle forward. A few quick checks catch most instrument problems before they become inflight surprises.
In flight, when two instruments disagree, the Triangle of Knowledge from the previous section is your fastest way to sort out which one is lying to you. Trust the majority, not the one that "feels" right.
Consistency beats intensity here. A weekly rhythm of short, focused sessions builds the habit faster than one long cram flight.
Measure your progress against real numbers, not gut feel. FAA Instrument Proficiency Check guidance frames proficiency as aircraft control, systems knowledge, and decision-making together, and IPC tolerances give you concrete targets for altitude, heading, and airspeed deviations as recommended by the FAA Instrument Proficiency Check guidance.
Pro Tip: Log your actual deviations during hood practice, not just "felt okay." Writing down "held altitude within 150 feet, drifted on heading twice" tells you exactly what to drill next time.
A simulator center's instructor and training resources are worth a look if you want structured simulator time between lessons, since repetition in a no-consequence environment is where a lot of scan habits actually get fixed.
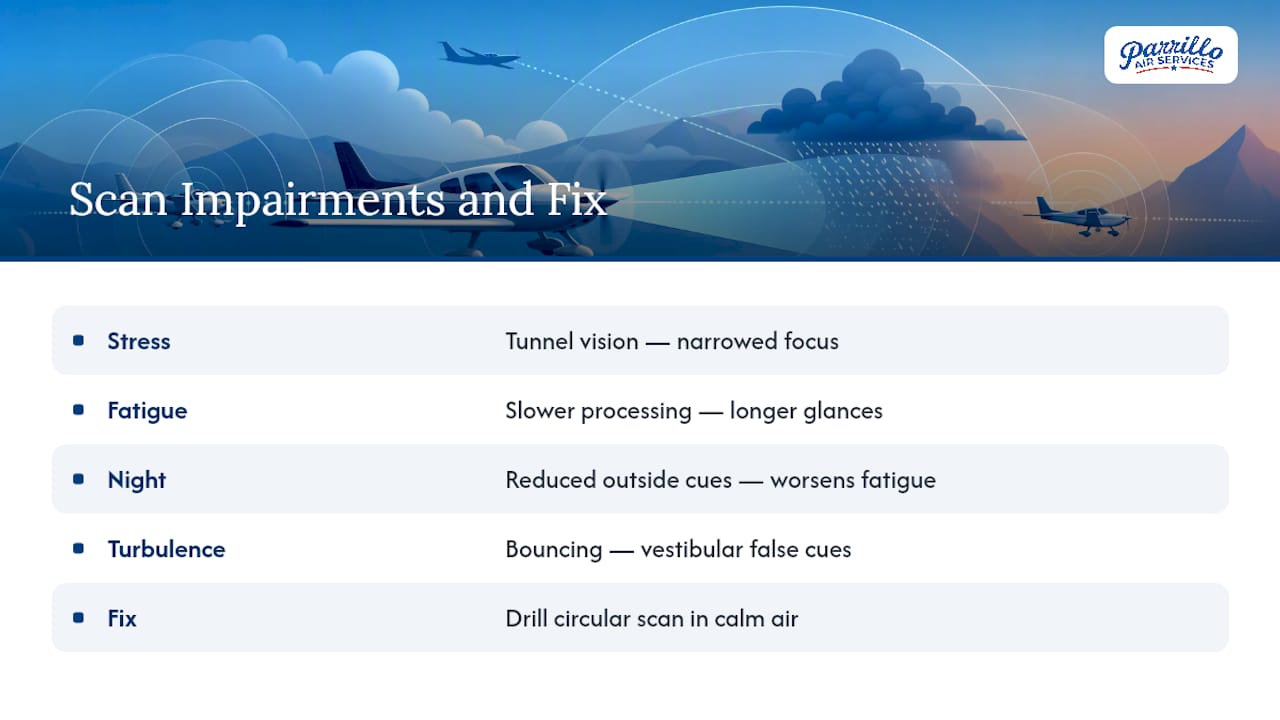
A clean scan pattern falls apart fastest under stress, not because you forget the technique, but because your eyes narrow their focus exactly when you need them wide open. Tunnel vision is a documented human response to high workload, and in the cockpit it looks identical to fixation: you lock onto the one problem instrument and stop cross-checking everything else.
Fatigue works differently but produces the same result. A tired brain processes information more slowly, so glances that used to take a fraction of a second start taking longer, and the rhythm of a music scan degrades into something closer to a wander. Night flying compounds this, since reduced visual cues outside the aircraft push more of your attention burden onto the panel at exactly the time your body wants to slow down.
Turbulence adds a physical layer on top. Bouncing makes gauges harder to read precisely, and the vestibular system starts sending false signals about attitude that conflict with what the instruments show. This is where trusting the panel over your inner ear becomes a real test rather than a classroom concept, something AOPA's training tips on sensory illusions address directly.
The practical fix is building your scan discipline in calm conditions first, so it's automatic before you ever need it under stress. A pilot who has drilled the circular scan hundreds of times in smooth air has something to fall back on when things get bumpy. A pilot who's still thinking through each glance does not.
Scan training is built as a progression, not a single lesson. Students start with the music scan on the ground, move into full-panel work in the aircraft, then add partial-panel and hood exercises once the basic rhythm is solid, reinforced with simulator sessions between flights. Instruction is personalized and flexible around each student's pace, with safety margins built into every partial-panel segment. The result is a lesson sequence that maps directly onto Instrument Proficiency Check readiness, not just checkride minimums.
— Gm
Reading about the music scan and the hub-and-spoke model gets you halfway there. The other half happens with an instructor watching your eyes, catching the fixation before it becomes a habit, and adjusting the drill to what you actually need that day. That's the gap between studying scan technique and owning it.

Part 61 instrument instruction is offered with lessons built around exactly the progression covered here: music-scan fundamentals, partial-panel and hood practice, and simulator reinforcement before you take those skills into the airplane. Scheduling stays flexible, and every partial-panel segment is flown with safety margins built in from the start. If you're weighing whether to keep self-studying or get a second set of eyes on your scan, a discovery flight is a low-pressure first step whether you're starting from zero or already logging hood time.