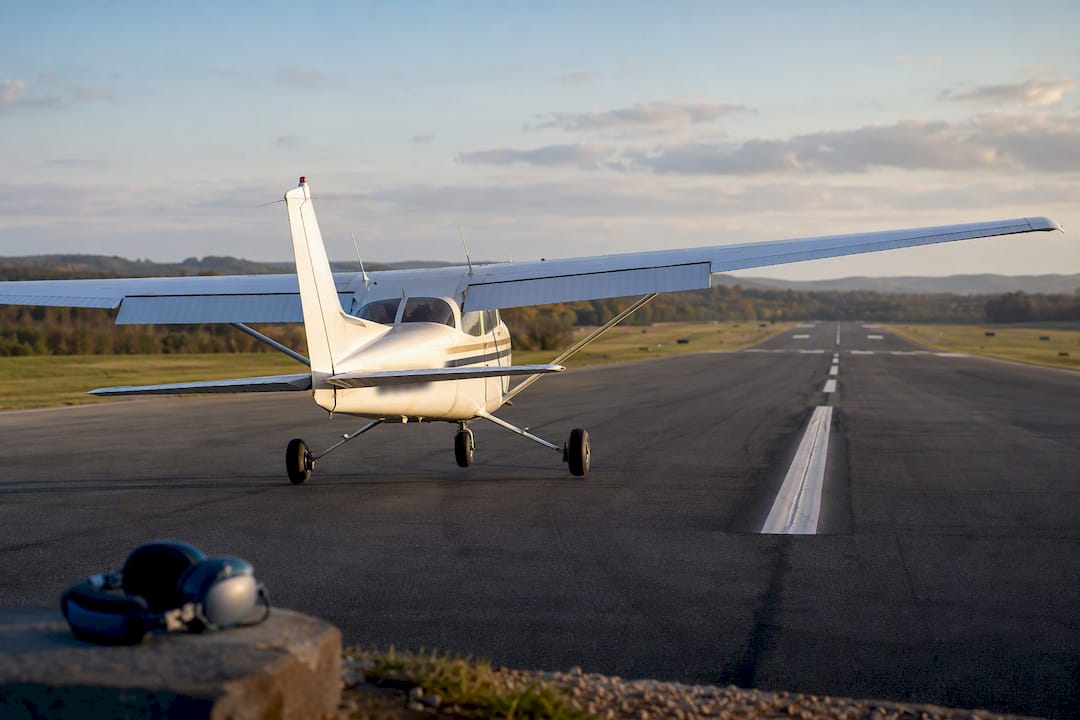
Learn the wing-low sideslip before anything else. Most training airplanes handle it best, and the fastest path to proficiency runs through a fixed progression: at-altitude control drills, then low approaches, then full-stop circuits, then repetition in a simulator. Fly all of it with a CFI, respect your airplane's POH demonstrated crosswind value, and set a conservative go-around trigger before you ever turn onto final.
TL;DR:
- Practicing rudder control and coordination at altitude before the first landing helps develop confident crosswind correction skills.
- The wing-low sideslip technique is preferred for most general aviation aircraft because it positions the airplane in landing mode early, avoiding last-minute maneuvers.
- Set your go-around threshold before takeoff, considering passenger conditions, gust patterns, and your aircraft's demonstrated crosswind value plus a safety margin.
- Crosswind landings are safer and more manageable once you make small corrections earlier, reducing the tendency to overcorrect during final approach.
- Incrementally increasing crosswind conditions during pattern work helps build muscle memory and confidence necessary for handling gusty, gusty, or stronger winds.
Table of Contents
- Sideslip vs. Crab: Which Crosswind Landing Technique Should You Practice First?
- What Drills Build Real Crosswind Skill Before You Land?
- How Do You Fly the Approach, Flare, and Rollout in a Crosswind?
- How Strong a Crosswind Can You Actually Handle?
- How Parrillo Air Services Structures a Crosswind Lesson
- What Instructors Notice When Students Finally "Get" Crosswinds
- Book Supervised Crosswind Practice at Parrillo Air Services
- Sources
- FAQ
Sideslip vs. Crab: Which Crosswind Landing Technique Should You Practice First?
The wing-low sideslip is the technique to master first in a Cessna, Piper, or similar trainer. You bank into the wind with aileron, then hold your heading with opposite rudder, keeping the nose aligned with the runway centerline the entire way down final. AOPA's training guidance recommends this method for most general aviation aircraft because it puts you in landing configuration well before touchdown. No last-second maneuvering required.
The crab-and-kick method works differently. You point the nose into the wind on final, tracking a straight ground path, then "kick out" the crab with rudder right at the flare while rolling in aileron to keep drift from creeping back in. Airline crews favor this on approach because a wing-low attitude that low, that early, risks a wingtip or engine pod striking the runway on a swept-wing jet.
Neither technique is exclusively right for every crosswind. Airbus and Skybrary's operational guidance describes blending both once crosswind components climb past roughly 15 to 20 knots: hold a small residual crab, maybe 5 degrees, combined with a matching small bank angle, rather than forcing a full decrab that can overload the controls.
What to watch for as you practice:
- The ball drifting off center means you're not coordinated. Fix it with rudder, not aileron.
- Pick a fixed point past the far end of the runway and hold your nose on it.
- Aileron pressure into the wind should increase as your airspeed bleeds off, never decrease.
What Drills Build Real Crosswind Skill Before You Land?
Skip the runway on day one. Angle of Attack's instructor guidance recommends starting the SAFE progression at roughly 3,000 feet AGL, where a mistake costs you nothing but altitude.
- Rudder control practice. Hold heading using rudder alone, no aileron, so your feet learn to lead.
- Rudder boxing. Push the nose left, right, left in a rhythm to build quick, confident rudder response.
- Slip practice. Combine aileron and opposite rudder to hold a heading while descending, the exact sensation you'll need on final.
- Dutch rolls. Roll wings level through a heading while holding the nose steady, building the coordination crosswind landings demand.
- Slow flight near landing speed, still at altitude, so the controls feel exactly as sluggish as they will in the flare.
Once that feels natural, move to a long runway for low approaches. Fly one pass working aileron only, one pass working rudder only, before you combine them for a full landing attempt. Use a stable approach configuration and speed throughout, no shortcuts on that front.
Pattern work comes next. Run five to eight circuits in a single lesson, nudging the crosswind component up slightly each time if conditions allow, and coordinate runway choice with the tower or UNICOM rather than fighting a stronger crosswind out of habit. A single CFI demonstration followed by a "silent coach" approach, where your instructor stays quiet unless something's genuinely wrong, reinforces the muscle memory faster than constant narration.
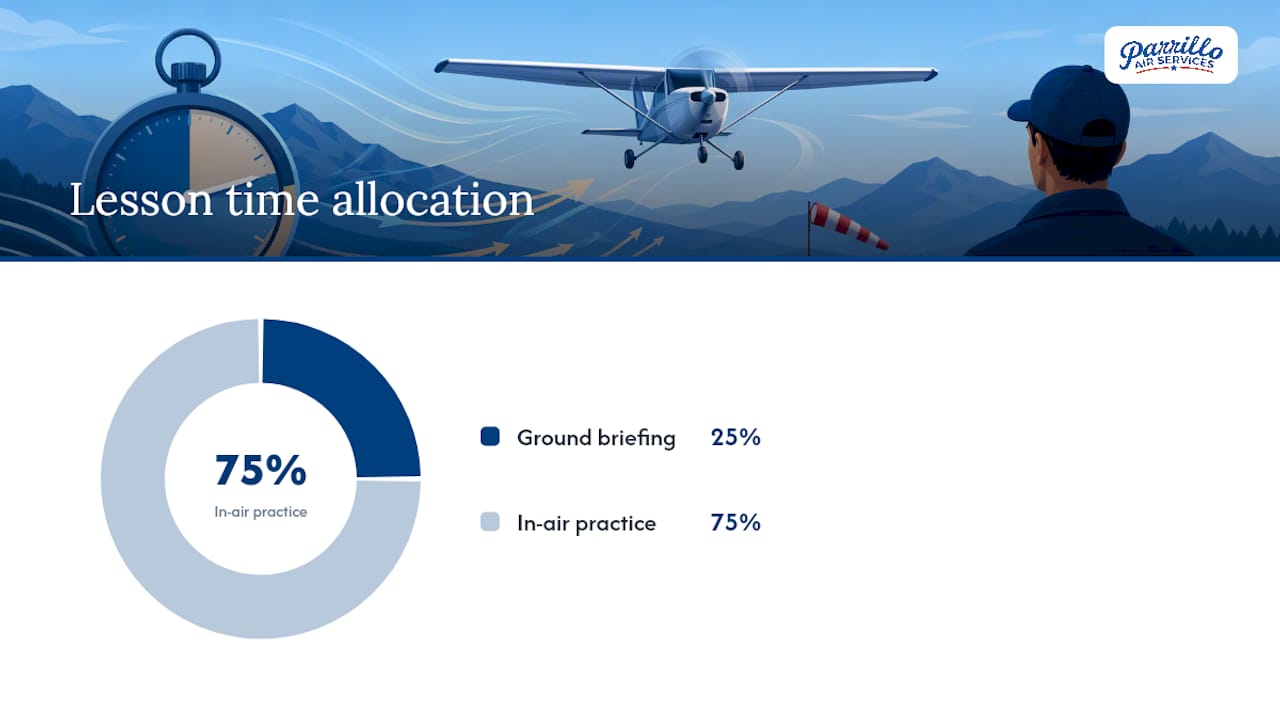
A typical session runs 20 to 30 minutes of ground briefing followed by 1 to 1.3 hours in the air, which is enough time to work through the full sequence without rushing.
Ground reference work pairs naturally with this progression if you want extra circuits practicing precision turns before adding crosswind drift on top.
How Do You Fly the Approach, Flare, and Rollout in a Crosswind?
Stabilize early. By the time you're a mile out, airspeed, glidepath, and your drift correction should already be locked in, not something you're still hunting for at 200 feet.
In the flare, the wing-low pilot simply holds the slip through touchdown. The crab pilot times the kick to land right as the round-out begins, rolling in aileron the instant the rudder straightens the nose. Miscalculate that timing and you'll drift sideways in the flare, which is the single most common crosswind landing mistake instructors see.
Touchdown in a crosswind follows a predictable order: upwind main wheel first, downwind main wheel second, nose wheel last. AOPA notes that in gusty conditions, adding half the gust factor to your approach speed, and considering reduced flaps, cuts down on ballooning and improves directional control once you're on the ground.
- Keep aileron pressure into the wind through touchdown; it doesn't stop mattering once the wheels touch.
- Increase rudder input as speed decays, since airflow over the rudder weakens with it.
- Save differential braking for genuine directional trouble, not routine centerline corrections.
- Taxi with the same into-wind aileron discipline you used on rollout, especially in gusty crosswinds on the ground.
How Strong a Crosswind Can You Actually Handle?
Estimate your crosswind component before you ever call the tower. AOPA's crosswind component chart, or the simple rule of multiplying wind speed by the sine of the angle between wind and runway, gets you close enough for planning. Your airplane's POH lists a demonstrated crosswind value, and that number is a demonstration of what the manufacturer's test pilot did, not a personal limit you should fly right up to.
Build in a margin. If the POH says 15 knots, treat anything above 12 as a day to bring an instructor, and treat gusty, variable wind as its own category requiring extra runway length and reduced flap settings.
- Needing full or near-full aileron deflection just to track centerline means you've run out of margin. Go around.
- If you can't align with the runway before the flare, go around rather than forcing it.
- A wet, icy, or contaminated runway cuts your effective crosswind limit significantly. Treat it as a separate, stricter limit.
- Decide your personal minimum during the preflight brief, not while you're already established on final.
How Parrillo Air Services Structures a Crosswind Lesson
A typical crosswind lesson includes a ground brief covering technique and personal limits, at-altitude drills, a single instructor demonstration in the pattern, then multiple student-flown circuits with a debrief to close it out.
The lesson aims to develop:
- Coordinated rudder and aileron use effective in crosswinds
- A practiced go-around decision-making process
- Familiarity with both wing-low and crab-and-kick techniques and when to blend them
- Skills that support progress toward a private pilot checkride and further flying
... Students who want to see this progression before committing can book a discovery flight and work the drills firsthand.
What Instructors Notice When Students Finally "Get" Crosswinds
Freezing on the controls is the most common failure, and the fix is almost always more rudder, applied sooner. Late decrab, leveling the wings too early, these trace back to one root cause: not enough repetition at altitude before the runway adds pressure. Rudder boxing and one-word corrections from your instructor build the reflex faster than any lecture. Progress shows up as smaller corrections, not perfect ones. Advance the crosswind component only once your corrections shrink.
— Gm