Don't fly if any single element of PAVE (Pilot, Aircraft, enVironment, External pressures) violates your personal minimums, or if your Flight Risk Assessment Tool yields a red score. That one rule, applied honestly before every flight, covers the vast majority of situations where student pilots get into trouble. The FAA Risk Management Handbook formalizes this go/no-go decision framework with PAVE, IMSAFE, and scored FRAT forms, and the NTSB's accident record consistently points back to pilot-related factors when things go wrong. You are the Pilot in Command. That authority is also a responsibility.
If the answer to any of those is uncertain, the default is no-go until you resolve it.

A go/no-go decision is sound only when PAVE, IMSAFE, and a scored FRAT all clear, and when personal minimums are set in writing before pressure appears.
| Point | Details |
|---|---|
| PAVE + IMSAFE is the baseline | Check all four PAVE buckets and every IMSAFE item before every flight, no exceptions. |
| FRAT colors drive action | Green means go with mitigation noted; yellow means consult your CFI; red means cancel until risk drops. |
| Personal minimums must be written | Set conservative numbers in a calm environment so they hold when schedule or social pressure builds. |
| Reassess continuously in flight | Run the 5P check at pre-takeoff, midpoint, pre-descent, and final approach; activate Plan B without hesitation. |
| Parrillo Air Services trains the decision | Scenario-based CFI instruction at Parrillo Air Services builds the go/no-go habit from early training onward. |
The Aviation Instructors Handbook treats the go/no-go decision as a core PIC judgment, not a formality. Running PAVE systematically keeps that judgment honest.
PAVE buckets with concrete items:
IMSAFE mnemonic (pilot self-check):
After running PAVE and IMSAFE, jot down your top two or three hazards. Those notes become your FRAT inputs.
A FRAT turns your PAVE hazards into a number you can act on. Two formats exist: numeric FRATs assign point values to each hazard and total them; narrative FRATs ask you to rate likelihood and severity in writing. Most student pilots start with numeric because the score is fast and unambiguous.
The FAASTeam FRAT guidance maps scores to three action bands:
| FRAT Score Band | Color | Recommended Action |
|---|---|---|
| Low total | Green | Proceed with normal planning and mitigation |
| Moderate total | Yellow | Mitigate top risks; consult your CFI before going |
| High total | Red | Cancel or significantly reduce risk before reconsidering |
Step-by-step FRAT process:
Pro Tip: A green FRAT score does not replace judgment. If something feels wrong after scoring green, trust that instinct and dig deeper. The FAA Risk Management Handbook is explicit: calibrate your thresholds realistically, not optimistically.
Personal minimums are the numbers you set in a calm, non-pressured environment so they're available when social or schedule pressure appears. Writing them down in advance is what makes them work.
Six-step process:
Sample personal minimums for common student scenarios:
For fuel reserve specifics and regulatory context, the minimum fuel guide for student pilots is worth reading before you set that row.
Pro Tip: Tighten minimums when flying an unfamiliar aircraft, a new route, or after a gap in currency. Relax them incrementally only after logging recent, uneventful flights in similar conditions with CFI sign-off.
A go decision at the ramp is not permanent. Conditions change, and the AOPA guidance on go/no-go frames this as a continuous process with scheduled reassessment points.
The 5P check (run at each phase):
Run 5P at pre-takeoff, hourly or at the midpoint, pre-descent, and on final approach.
DECIDE model (quick loop for in-flight problems): Detect the change, Estimate its significance, Choose a course of action, Identify options, Do the best option, Evaluate the result.

TEAM model (risk mitigation cues): Transfer the risk, Eliminate it, Accept it if minor, Mitigate it if you can't eliminate it.
Pro Tip: If weather deteriorates en route and your FRAT would now score yellow or red, activate Plan B without negotiating with yourself. Diverting to an alternate is professional behavior, not a setback. Private aviation operators treat contingency planning as standard practice, and student pilots should too.
Memorize these. Each one is a hard stop until resolved.
Weather triggers:
Aircraft and operational triggers:
Pilot triggers:
The cross-country flight planning checklist covers several of these triggers in a route-planning context.
Good judgment is built, not inherited. The CFI companion preflight self-briefing guide recommends logging decisions and using scenario drills to normalize cancellations.
Build a decision log:
Scenario drills with your CFI:
Use PIREPs from Flight Service as external validation. If PIREPs along your route report conditions worse than forecast, that's a yellow flag even if your FRAT scored green. Peer or CFI review is especially useful when your FRAT lands in the yellow band.
Copy this structure, print it, and fill it out before every solo or cross-country flight.
Three-step workflow:
FRAT scoring template:
Score thresholds: 8–16 = Green (go with mitigation noted); 17–24 = Yellow (mitigate + consult CFI); 25–40 = Red (don't go).
Decision box: Go / No-Go (circle one). Plan B: ___. Plan C: ___. CFI consulted: Yes / No. Signature: ___. Date: ___.
Pro Tip: Keep a stack of printed worksheets in your flight bag. The act of writing forces you to slow down and think, which is exactly what external pressure tries to prevent.
Saying no to a flight is not a failure. It is the clearest demonstration of PIC authority that a student pilot can make.
Every CFI who has been flying long enough has a story about the flight they didn't take, and that story usually ends well precisely because they didn't take it. The students who struggle most with go/no-go decisions aren't the ones who lack knowledge. They're the ones who haven't yet internalized that canceling a marginal flight is a professional act, not an embarrassing one.
Scenario training is where that internalization happens. When a CFI walks a student through a weather-change drill or a simulated equipment failure, the goal isn't to test knowledge. It's to make the no-go response feel normal, practiced, and automatic. Pre-planned alternatives, Plan B and Plan C, make that easier. A pilot who already knows where they'll divert, or when they'll cancel, doesn't have to make that decision under pressure.
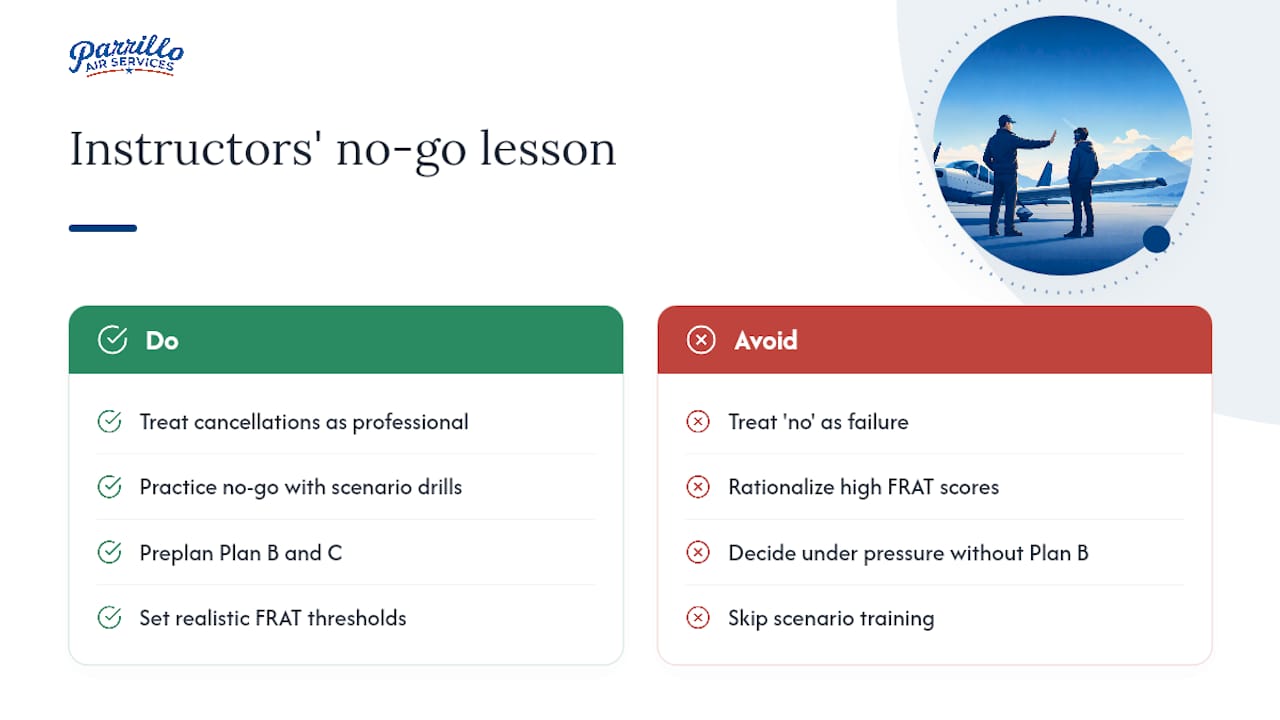
The FAA Aviation Instructors Handbook frames this directly: FRAT thresholds must be realistic, and high scores must trigger additional scrutiny, not rationalization. That's the habit worth building early.

Parrillo Air Services, based in Lynchburg, VA, builds scenario-based go/no-go practice into its FAA Part 61 training from the first lessons. Students work through FRAT scoring, personal minimums, and CFI-reviewed decision logs as part of structured instruction, not as an afterthought before a checkride. The difference between knowing the PAVE checklist and actually using it under pressure is repetition with a qualified instructor watching. That's what the program delivers, from discovery flights through instrument and commercial ratings. If you want to build the kind of preflight judgment that holds when conditions get marginal, learn more about flight training programs at Parrillo Air Services and schedule your first session.
The sources below are cited directly in this article and recommended for further reading: